
Building a Blazor App in 2025
In this post, I will guide you through the process of building a Blazor app in 2025. Blazor is a powerful framework for building interactive web applications using C#.
This guide is aimed at beginners who want to get started with Blazor development.
Let's dive in!
Getting Started
To start building a Blazor app, you need to have the .NET SDK installed on your machine. You can download it from the official .NET website.
Creating a New Blazor Project
Once you have the .NET SDK installed, you can create a new Blazor project using the following command:
dotnet new blazor -o WebsiteRunning Your Blazor App
After creating your Blazor project, navigate to the project directory and run the following command to start the development server:
dotnet watch --project "PathTo.csproj"Building Your First Component
Blazor apps are built using components. A component is a self-contained piece of UI
that can be reused throughout your application. To create a new component, you can add a new Razor file in the Pages directory.
@page "/my-component"
    <h3 class="text-2xl font-bold">My First Component</h3>
    <p>This is my first Blazor component!</p>
Deploying Your Blazor App
Once you have built your Blazor app, you can deploy it to a web server or a cloud service. Blazor apps can be hosted on any web server that supports static files, such as IIS, Apache, or Nginx.
Conclusion
In this post, we covered the basics of building a Blazor app in 2025. Blazor is a powerful framework that allows you to build interactive web applications using C#. With its component-based architecture, you can create reusable UI components and easily manage the state of your application.
As you continue to explore Blazor, you'll discover more advanced features and capabilities that will help you build even more complex applications.
Feel free to reach out if you have any questions or need further assistance with Blazor development!
Further Reading
For more information on Blazor, you can check out the official documentation:
https://docs.microsoft.com/en-us/aspnet/core/blazor/Installing Tailwindcss
To install Tailwind CSS in your Blazor project, you can follow these steps:
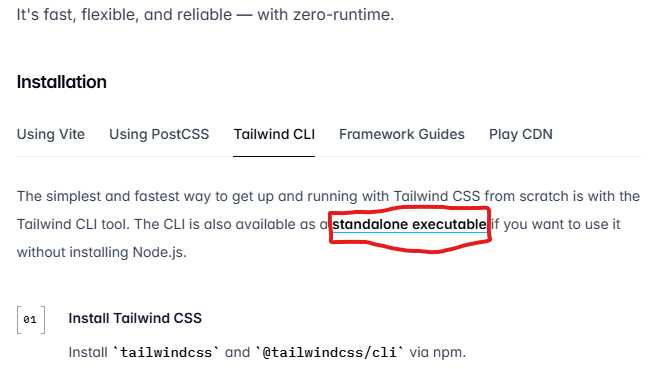
Navigate to the tailwind site and download the standalone executable. Get Tailwind Cli
Once you have the executable, you can run the following command in your project directory:
tailwindcss initThis will create a tailwind.config.js file in your project directory, which you can use to customize your Tailwind CSS configuration.
    module.exports = {
    content: [
        './Components/**/*.razor',
        './wwwroot/**/*.html'
    ],
    theme: {
        extend: {},
    },
    plugins: [],
    }
You need to create the css input file and add the following line.
@import 'tailwindcss';After that, you can run the Tailwind CLI to generate your CSS file:
tailwindcss -i ./wwwroot/css/input.css -o ./wwwroot/css/output.css --watchThis command will watch for changes in your input CSS file and generate the output CSS file with Tailwind styles.